
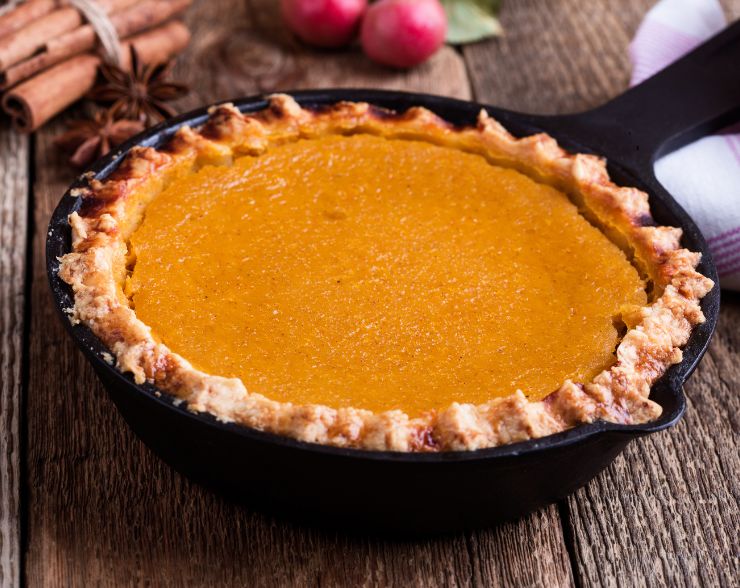
Pumpkin Pie
This pumpkin pie delivers everything people love about the Thanksgiving classic — a smooth, silky custard, warm balanced spices, and a buttery, tender crust — but with a richer flavor and cleaner ingredients. Heavy cream replaces evaporated milk for a luxurious texture, while a blend of pure cane sugar and Florida Crystals brown sugar adds natural caramel notes. The extra egg yolk creates a bakery-style finish that slices beautifully once cooled. Whether you use homemade pumpkin purée or canned, this pie bakes up dependable, fragrant, and truly unforgettable.
Equipment
- 1 nine inch pie plate
Ingredients
- 1 unbaked single pie crust, all-butter and well chilled
- 1½ cups Homemade pumpkin purée or1 can (15 oz) pure pumpkin
- 1½ cups heavy cream
- 3 large eggs
- 1 egg yolk
- 1/2 cup pure cane sugar
- 1/4 cup brown sugar I recomend Florida Crystals brown sugar
- 2 tsp pumpkin pie spice
- 1/2 tsp fine sea salt
- 1 tsp vanilla extract
- 1 tbsp maple syrup
Optional:
- Egg wash for crust (1 egg beaten with 1 teaspoon water)
Instructions
- Preheat the Oven and Prepare the CrustPreheat the oven to 375°F.Place a baking sheet on the middle oven rack while the oven heats; warming the sheet helps the crust bake evenly from the bottom.Fit the chilled pie dough into a 9-inch pie plate, trim or crimp the edges, and return it to the refrigerator while you prepare the filling. A cold crust going into a hot oven creates the best texture.
- Mix the FillingIn a large mixing bowl, whisk together the pumpkin purée, pure cane sugar, brown sugar, pumpkin pie spice, and salt until the mixture is smooth and the sugars begin to dissolve.This can take 4–5 minutes, but it’s worth it for a silkier custard.Add the 3 whole eggs and the extra yolk. Whisk until fully blended and no streaks remain.Pour in the heavy cream, vanilla, and maple syrup (if using). Whisk gently until the custard is silky and uniform. Avoid vigorous whisking, which can create bubbles and lead to a slightly uneven surface during baking.
- Fill the Pie and BakeBrush the edges of the crust with egg wash if you prefer a glossy, golden finish.Place the pie plate on the preheated baking sheet. Carefully pour the filling into the crust.Bake for 50–60 minutes, checking around the 45-minute mark.The pie is done when:The outer edges are set,The center jiggles gently when nudged (like soft Jell-O),And the surface looks matte, not wet.If the crust begins to brown too quickly, shield the edges with parchment paper strips.
- Cool CompletelyTransfer the pie to a cooling rack and let it cool for 3–4 hours.This slow cooling step allows the custard to finish setting and ensures clean, neat slices.
Serving Suggestions
- Serve at room temperature or chilled with:freshly whipped creama light dusting of pumpkin pie spicetoasted pecansa drizzle of maple syrup
Storage
- Refrigerate, covered, for up to 4 days.Best made one day ahead for peak texture and flavor.
Freezing Instructions
- Pumpkin pie freezes exceptionally well because of its high fat content and custard-style filling.To freeze:Cool the pie completely (a full 3–4 hours).Place the pie, uncovered, in the freezer for 1–2 hours until the surface is firm.Wrap tightly in two layers of plastic wrap or compostable wrap.Add a layer of foil or a freezer-safe bag for extra protection from freezer burn.Freeze for up to 1 month for best flavor and texture.To ServeThaw in the refrigerator overnight, unwrapped but still sitting in its pie tin.For the best crust texture, let it sit at room temperature for 15–20 minutes before slicing.
Tried this recipe?Let us know how it was!