
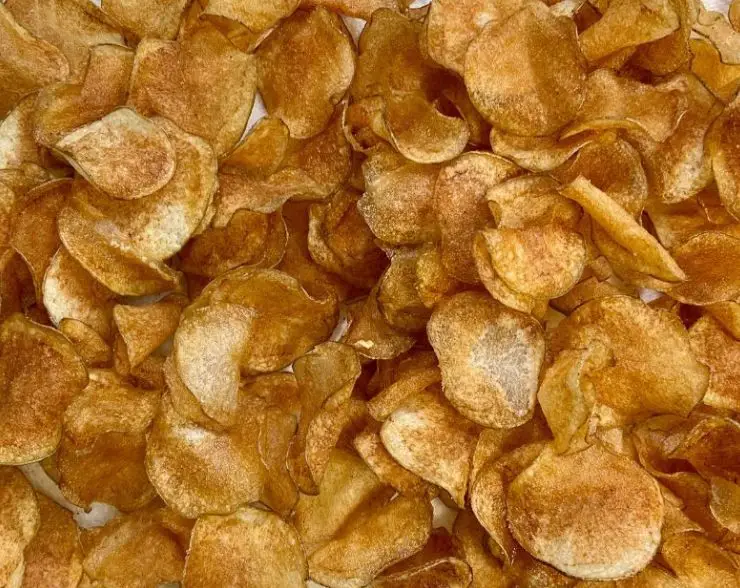
Homemade Potato Chips
Crispy, golden potato chips made from real ingredients, no mystery oils, no additives, just simple technique and incredible flavor. Season them any way you like and make them your own.
Equipment
- eavy pot or Dutch oven, or electric deep fryer
- Thermometer (unless using a controlled fryer)
- Spider strainer or slotted spoon, metal or heat-safe, not plastic
- Sheet tray lined with paper towels, with a wire rack on top if available
- Seasoning prepared in advance, preferably in a shaker
Ingredients
- 2 large russet potatoes, about 1½ pounds
- Cold water, for soaking
- 1 tbsp white vinegar, optional
- 1-2 quarts avocado oil or beef tallow
- Fine salt or seasoning of choice
Flavoring Options
Salt and Vinegar
- 2 tsp vinegar powder
- 1-2 tsp fine salt
Sour Cream and Onion
- 2 tsp sour cream powder
- 1 tsp onion powder
- 1/2 tsp chive or green onion powder
- 1/2 tsp fine salt
BBQ
- 1 tsp paprika
- 1 tsp brown sugar
- 1/2 tsp onion powder
- 1/2 tsp onion powder
- 1/2 tsp garlic powder
- 1/2 tsp fine salt
- 1/2 tsp chili powder
Ranch
- 1 tsp buttermilk powder
- 1/2 tsp onion powder
- 1/2 tsp garlic powder
- 1/2 tsp dried dill
- 1/2 tsp fine salt
- pinch of black pepper
- or homemade ranch seasoning
Dill Pickle
- 1 tsp vinegar powder
- 1/2 tsp dried dill
- 1/2 tsp onion powder
- 1/2 tsp fine salt
Cajun
- 1 tsp paprika
- 1/2 tsp garlic powder
- 1/2 tsp onion powder
- 1/2 tsp fine salt
- 1/4 tsp cayenne
- 1/4 tsp dried thyme
Honey BBQ
- 1 tsp honey powder
- 1 tsp paprika
- 1/2 tsp onion powder
- 1/2 tsp fine salt
- 1/2 tsp garlic powder
- 1/2 tsp chili powder
Instructions
For detailed step-by-step instructions, equipment setup, and pro tips, see full post above
- Slice potatoes to 1/16 inch thickness.Soak in cold water for at least 1 hour, optionally with vinegar.Rinse until water runs clear.Dry thoroughly (see post for best method).Heat oil to 340°F.Add slices one at a time, keeping them moving.Fry 3–5 minutes until golden and crisp.Remove and season immediately.Cool completely before storing.
Storage
- Once the chips are completely cooled, store them in an airtight container at room temperature.For best results, I vacuum seal mine in a mason jar using a jar sealer attachment. This removes the air and helps keep the chips crisp for up to 5 days.Make sure the chips are fully cooled before sealing. Any trapped moisture will soften them.
Notes
- For detailed step-by-step instructions, equipment setup, and pro tips, see full post aboveMaintain oil temperature at 340°FDo not overcrowd the potDrying thoroughly is essential for crisp chipsSeason immediately after frying
Reusing Frying Oil
- If your oil stayed clean during frying, you can reuse it.Let the oil cool completely, then strain it through a fine mesh strainer lined with a coffee filter to remove any small particles.Store it in a sealed container and use it again for frying.For best results, reuse oil 1 to 2 more times, as long as it smells clean and hasn’t darkened too much.
How to Make Seasonings Stick Better
- If your chips cool too much before seasoning, the powders may not cling as well. You can:Season immediately after fryingToss chips in a bowl while still warmAdd a very light mist or drizzle of oil before seasoningDo not overdo the oil or the chips can lose their crispness.
Tried this recipe?Let us know how it was!