
Homemade Cream Cheese (Yogurt Cheese Style)
This yogurt-based cream cheese—also known as yogurt cheese—is rich, tangy, and perfectly spreadable. Made by straining the whey from plain yogurt, it’s a clean and simple alternative to store-bought cream cheese, with no gums, stabilizers, or preservatives.
Equipment
- Flour sack towels
- Strainer or colander
- bowl
Ingredients
- 2 lbs 32 oz) plain yogurt (whole milk recommended)
- 1/4 tsp Sea salt
Instructions
Day 1 – Strain the Yogurt
- Line a strainer or colander with a flour sack towel and set it over a bowl to catch the whey.Pour the yogurt into the towel.Fold the towel ends over the top.Optional: Place a small lid or plate directly on the yogurt to add gentle pressure and speed up whey release.Refrigerate and let it strain for 8–12 hours or overnight.
Day 2 – Season or Flavor & Transfer
- Scoop the thickened yogurt cheese into a bowl.Stir in sea salt to taste.Optional flavor mix-ins:Sweet: swirl in fruit preserves, fig jam, or a touch of honeySavory: fold in chopped smoked salmon, minced garlic, fresh herbs, or roasted veggiesLine your 2-cup containers with fresh towel squares. Spoon the cheese in and fold the towel over the top.Cover loosely and refrigerate.
Day 3 – Refresh the Towels
- Open the containers and transfer the cheese to freshly lined ones (or replace the towels).This continues the moisture draw and firms up the texture.Fold the towel back over and refrigerate again.
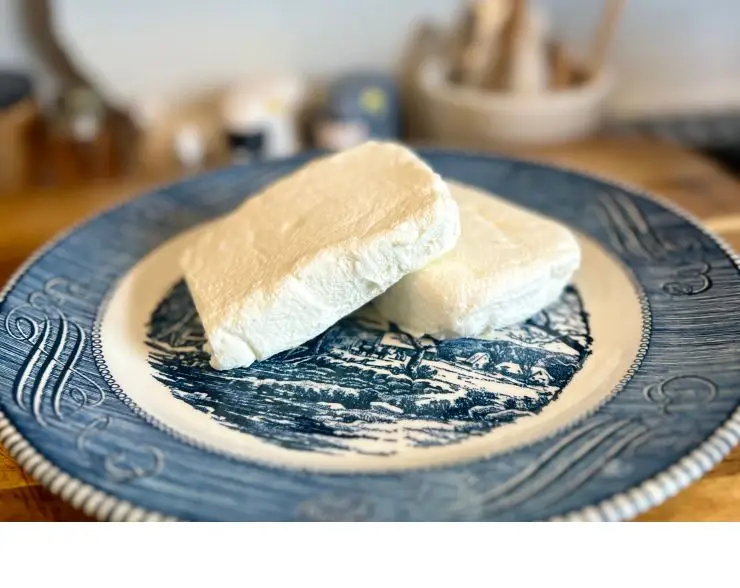
Day 4 – Ready to Enjoy
- Remove the towel and transfer the cream cheese to a clean, airtight container.The texture should be smooth, rich, and spreadable.Store in the fridge and use within 1–2 weeks.
Tried this recipe?Let us know how it was!