
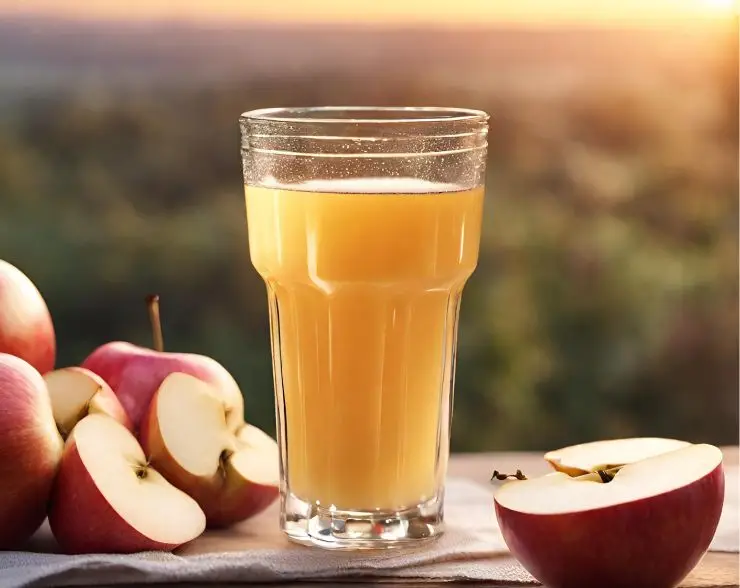
Homemade Apple Vinegar
A simple, natural way to turn apple scraps into tangy vinegar right in your kitchen. All you need are apple cores/peels, sugar, and water — the rest is time and fermentation. This vinegar is cloudy, alive, and full of flavor, perfect for everyday cooking, salad dressings, or natural cleaning.
Equipment
Ingredients
- Apple scraps (cores, peels, or chopped whole apples — organic/unwaxed preferred)
- 4 tbsp cane sugar or honey (per quart of water)
- Filtered or non-chlorinated water (enough to cover apples)
Instructions
- Prepare apples: Place apple scraps or chunks into a clean glass jar, filling about ½–¾ full. Organic apples are best; if unwaxed, you can leave peels on.Add sugar & water: Sprinkle cane sugar (or honey) directly over the apples. Pour in filtered water until the apples are fully submerged, leaving 1–2 inches headspace. Stir well to help the sugar dissolve.Cover: Place a breathable cover (flour sack towel, cheesecloth, or coffee filter) over the jar and secure with a rubber band. This keeps dust out but allows airflow.Ferment stage 1 (alcohol): Let sit at room temperature, out of direct sun, for 2–3 weeks. Stir daily to prevent mold and keep apples submerged. Bubbling and floating apples mean it’s fermenting into alcohol (hard cider stage).Ferment stage 2 (vinegar): After bubbling slows and apples sink, strain out solids. Return liquid to the jar, cover again, and let sit another 3–4 weeks. This is when acetic acid bacteria turn alcohol into vinegar.Taste test: When the liquid smells and tastes sharp and sour (not sweet, not cider-like), it has turned into vinegar. This usually takes 6–8 weeks total.Bottle & store: Transfer strained vinegar into clean glass bottles or jars with a plastic lid (or line a metal lid with parchment). Store in a cool, dark pantry. A new “mother” may form in storage — that’s normal.
Tried this recipe?Let us know how it was!