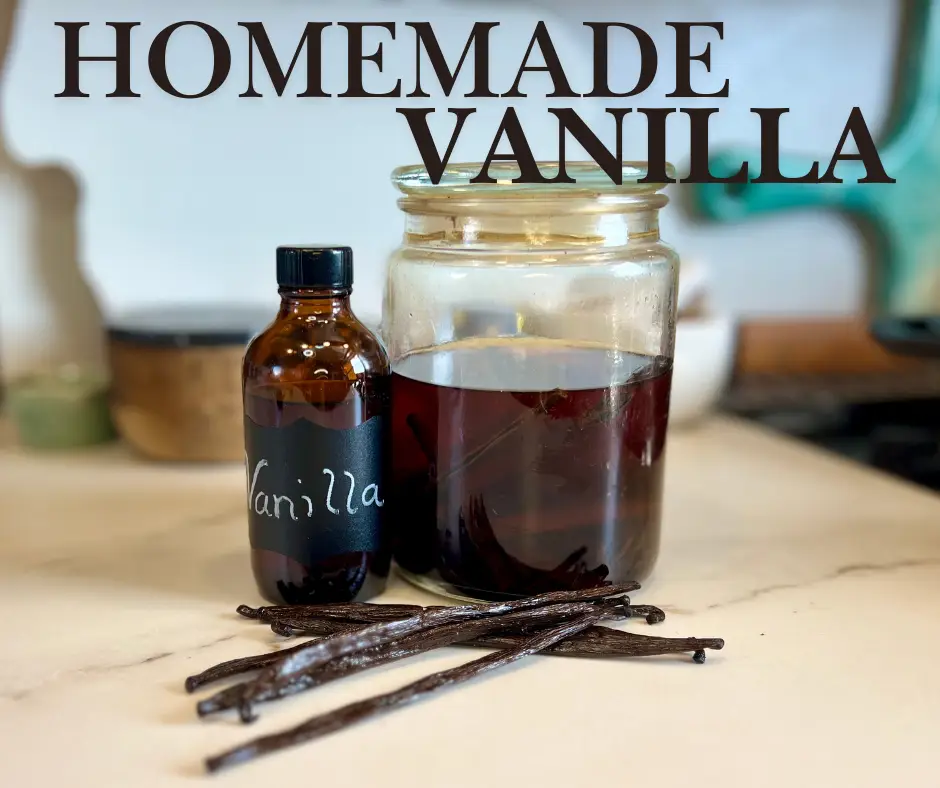
Making your own homemade vanilla extract is not only a cost-effective alternative to store-bought versions, but it also allows you to have more control over the quality and the flavor of your vanilla. Plus, the subtle aroma and rich taste of homemade vanilla adds a special touch to any dish. Whether you’re a beginner in the kitchen or a seasoned baker, making your own vanilla extract is a fun and easy process that will elevate your culinary skills.
Firstly, let’s talk about the benefits of making homemade vanilla. Most commercial vanilla extracts are made with artificial flavors and additives, while homemade vanilla extract is made with just two simple ingredients – vanilla beans and alcohol. This means you can avoid any synthetic flavors and create a more pure and natural product. Also, by making it yourself, you have the freedom to choose the quality of the vanilla beans and the type of alcohol used.
To make your own vanilla extract, you will need vanilla beans, alcohol, and a glass jar with a tight lid. When it comes to the type of vanilla beans, there are a few options to choose from. The most common and easily available are Madagascar Bourbon and Tahitian vanilla beans, which are both known for their strong and distinct flavor. You can also experiment with different varieties, such as Mexican vanilla, which has a spicy and smoky taste, or Tongan vanilla, known for its floral and fruity notes.
Now, for the alcohol. Traditionally, vodka is the go-to choice for making vanilla extract as it has a neutral flavor that won’t overpower the vanilla. However, you can also use other high-proof alcohols such as rum, bourbon, or brandy, depending on your personal preference. Keep in mind that the higher the alcohol percentage, the faster the extraction process will be.
To begin, cut the vanilla beans lengthwise, leaving about an inch at the top to keep the beans intact. Place the beans in the glass jar and cover them with the alcohol of your choice, making sure they are completely submerged. Close the jar tightly and give it a good shake. Store the jar in a cool, dark place for at least 6 to 8 months, shaking it every few days to help with the extraction process.
As time goes by, you will notice the color of the liquid turning into a dark, rich brown color. After six months, your homemade vanilla extract will be ready to use. You can either strain out the vanilla beans or leave them in the jar for a stronger flavor. Or keep this as your mother and only strain off a little at a time. Make sure to feed your mother batch more vodka after decanting and. feed it a few new vanilla beans one time a year or every two years, depending on how often you decant. The extract will continue to mature and intensify over time, so feel free to let it sit and have it for years to come.
Once your vanilla extract is ready, you can add it to your favorite recipes such as cakes, cookies, ice cream, and even savory dishes for a touch of sweetness. You can also customize the intensity of the vanilla flavor by adjusting the number of beans and the type of alcohol used. The best part is you can reuse the vanilla beans multiple times by adding more alcohol, making this a cost-effective and sustainable option.
In conclusion, making homemade vanilla is a simple and satisfying process that will result in a high-quality and flavorful product. Plus, it’s a great way to add a personal touch to your cooking and baking. So, why settle for store-bought vanilla when you can make your own in just a few simple steps? Give it a try and taste the difference for yourself.
Homemade Vanilla
Equipment
- Bottle or jar with a tight-fitting lid
Ingredients
- 8 Vanilla Beans
- 1 cup Vodka
Instructions
- Using a sharp knife, slit the vanilla beans so the beans are exposed. No need to completely split the bean in half, just slit down the middle. If the length of the vanilla beans don’t fit into your bottle or jar, cut the vanilla beans into smaller pieces. Place beans into bottle or jar.
- Store vanilla at room temperature out of direct sunlight. Shake about once per week or once every couple weeks. You can use it in 6 months, but 12+ months is even better.
- As you begin to use your vanilla, you can refill with a little vodka each time. Give it a shake after you refill and give it a shake before each use, too. If you’re gifting the vanilla or if you don’t have any more alcohol to refill, remove the beans completely after first use. The beans will become a little slimy if they aren’t almost fully submerged.
- Unused aged vanilla extract (with the beans fully submerged) will last several years. If it still smells good, it’s still good to use! Aged extract without the beans will last indefinitely. Once you begin using the vanilla and adding more alcohol after each use, the beans will eventually need to be replaced. It’s hard to give a specific amount of time as some may use (and refill) the vanilla more quickly than others. After about 1 year of frequent use and refilling, you will you find the vanilla flavor less intense. Simply remove old beans, add fresh beans, shake, and continue to use/refill.


