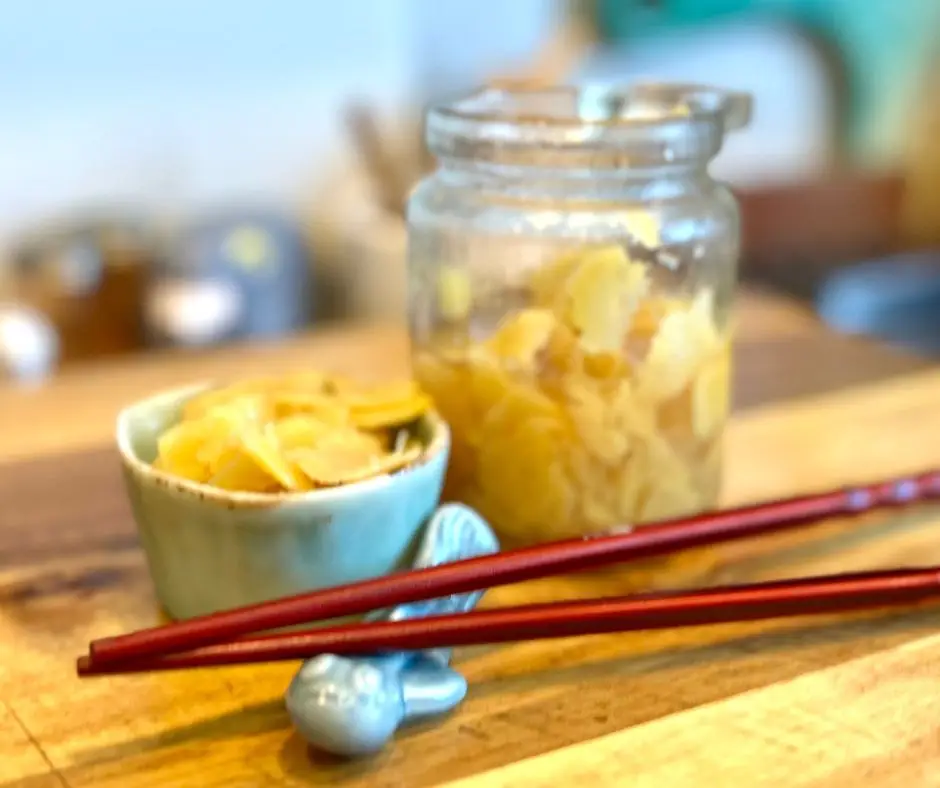
Homemade Pickled Ginger (Gari)
A small-batch, all-natural pickled ginger made with fresh slices, rice vinegar, and pure cane sugar—no dyes or additives. Perfect for sushi, bowls, and salads. Bright, zesty, and ready in just 24 hours.
Ingredients
- 1 cup peeled, very thinly sliced fresh ginger (about 4–5 oz)
- ¾ tsp sea salt (not iodized)
- ½ cup unseasoned rice vinegar
- 2 tbsp pure cane sugar
- Optional teaspoon pickled beet juice (for natural pink color)
Instructions
Salt the Ginger:
- Place the thinly sliced ginger in a bowl and sprinkle with sea salt.Toss gently and let sit for 30 minutes to release excess moisture.
Wring Out the Ginger:
- After salting, squeeze the ginger slices firmly with clean hands or a towel to remove as much liquid as possible.
Blanch the Ginger:
- In a small saucepan, bring 1 cup of water to a boil.Add the wrung-out ginger slices and boil for 1 to 5 minutes—1 minute for spicier ginger, 5 minutes for a milder flavor.Drain and press out the moisture.
Make the Brine:
- Combine rice vinegar and sugar in a small pot.Heat gently, stirring until the sugar dissolves (do not boil).Add beet juice if using, then remove from heat.
Pack and Pickle:
- Place the ginger slices in a clean glass jar.Pour the warm brine over the ginger until fully submerged.Let cool to room temperature, seal the jar, and refrigerate.
For best flavor and texture:
- Wait at least 24 hours before using to allow the flavors to develop.Always use clean utensils when serving to avoid introducing bacteria.If it ever smells off, develops mold, or becomes slimy, discard it.
How to Use Pickled Ginger
- Sure, it’s a sushi staple—but homemade pickled ginger can do so much more:Tuck it into rice bowls or noodle dishesChop and stir into dressings or saucesAdd it to grilled meats, especially pork or fishToss with cucumber salads or shredded cabbageLayer it into sandwiches or wraps for a little kickIt adds acidity, brightness, and a hint of sweetness that complements rich or savory foods beautifully.
Tried this recipe?Let us know how it was!