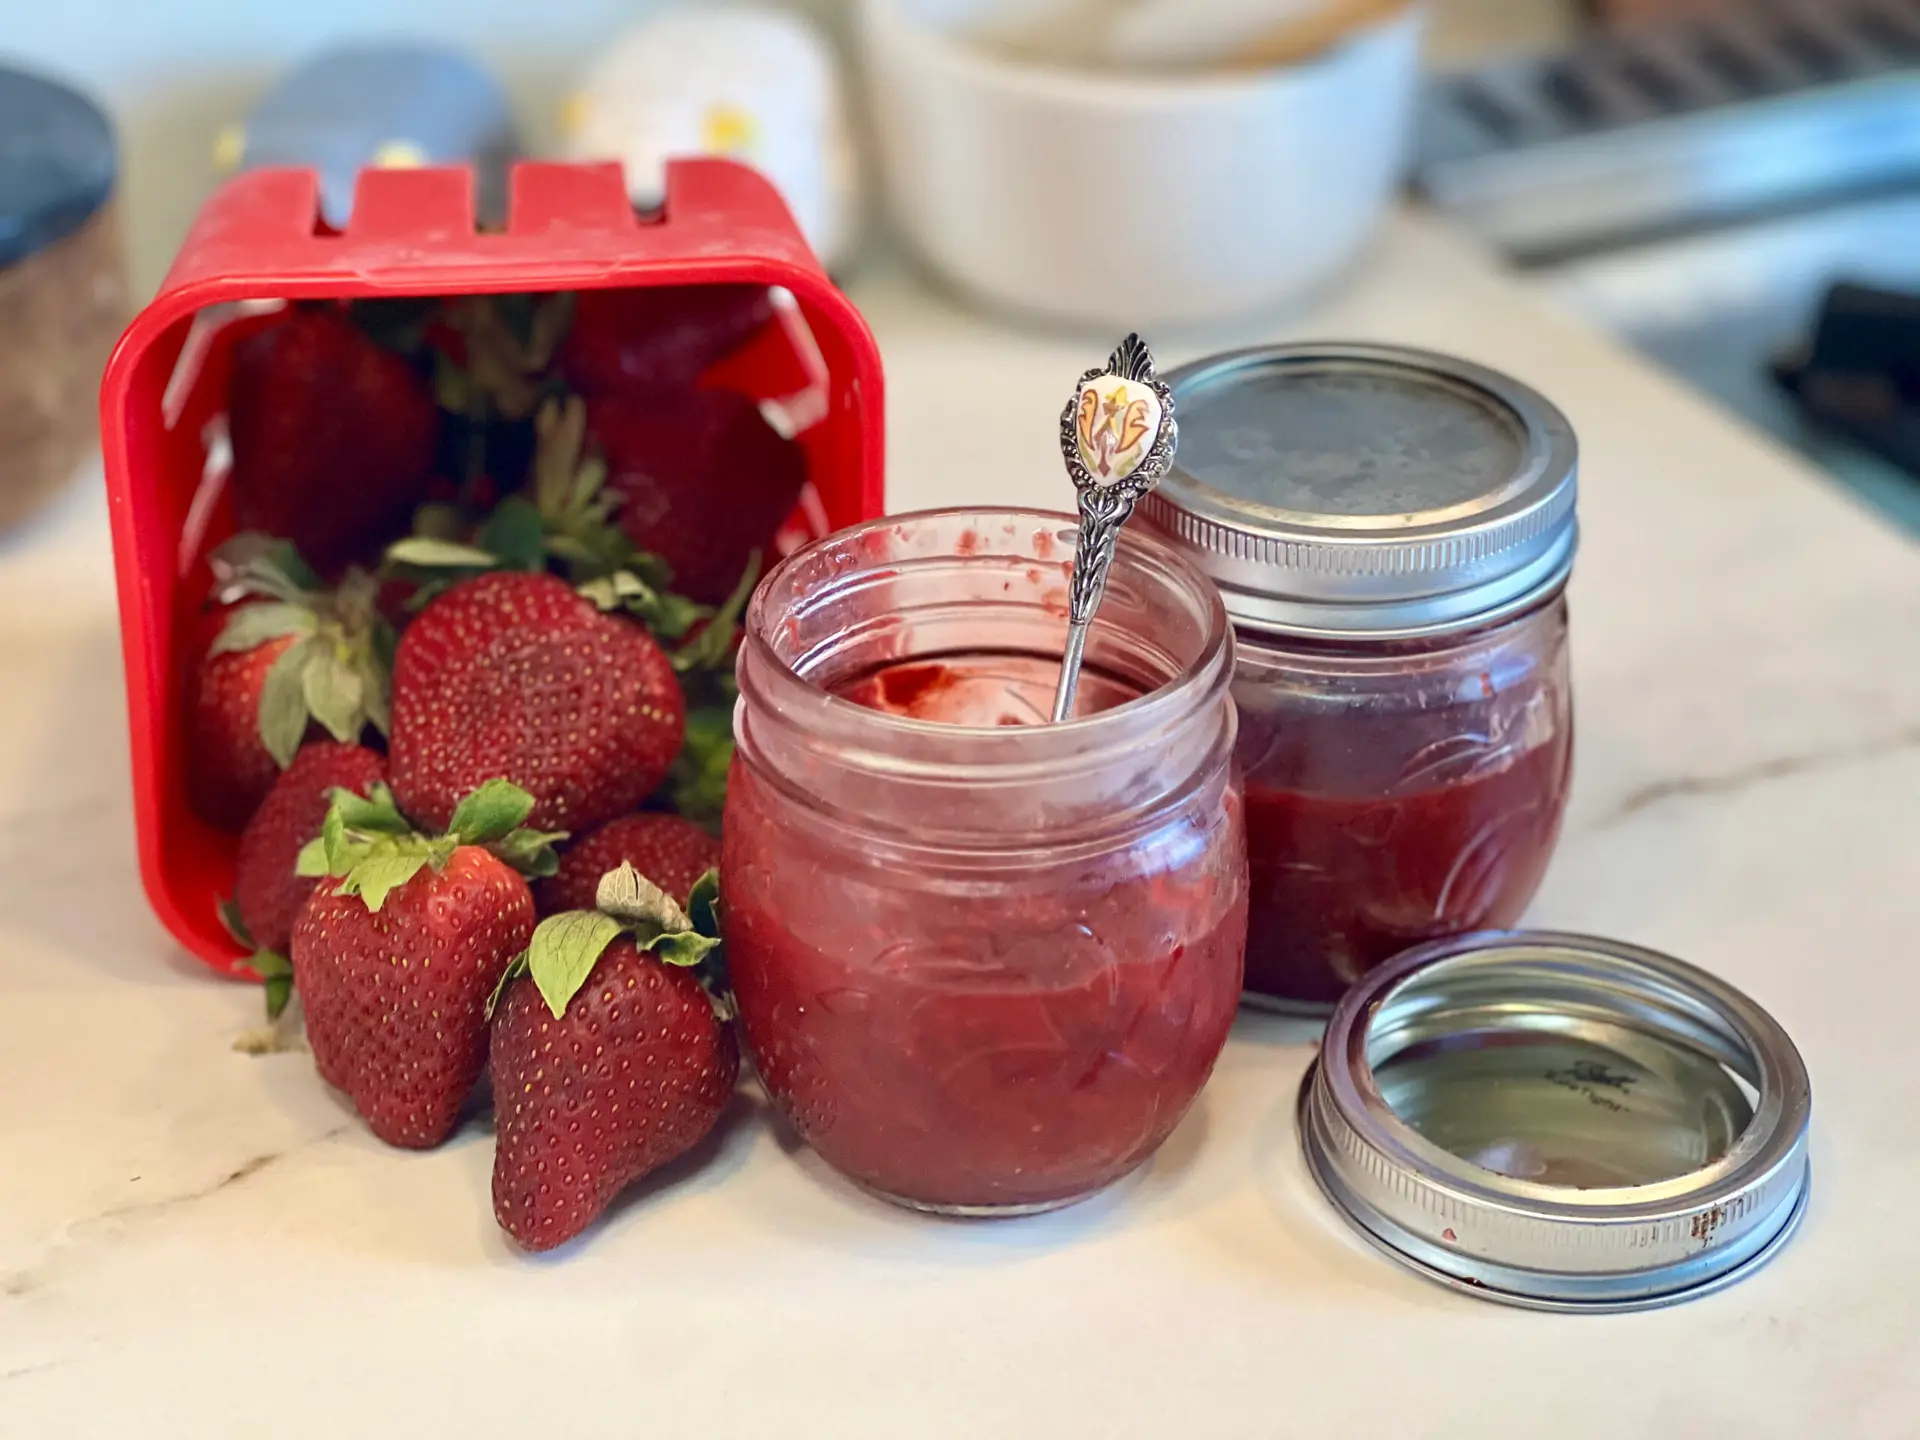
Easy Homemade Strawberry Jam: Refrigerator or Canned
There's nothing quite like the taste of homemade strawberry jam. It’s sweet, tangy, and bursting with fresh strawberry flavor. Whether you want to enjoy it right away or save it for later, this easy recipe will guide you in making delicious strawberry jam that can be stored in the refrigerator, frozen, or canned for long-term enjoyment.
Ingredients
- 1 pound Fresh strawberries hulled and diced
- 3/4 cup Cane sugar
- 1 lemon Zest
- 1 tbsp Fresh lemon juice
- 1/2 tsp Kosher salt
Balsamic Strawberry Jam
- 1 tbsp Balsamic Vinegar This is to replace the lemon
Instructions
- Begin by washing the strawberries thoroughly under cold running water. Remove the green tops and any damaged parts. Cut them into quarters or halves, depending on your preference for textures in the jam.
- In a large bowl, or the pot you are cooking your jam in, combine the prepared strawberries with the sugar, lemon juice, lemon zest (if using), and a pinch of kosher salt. Gently stir until the strawberries are well-coated with the sugar and other ingredients. Let the mixture sit for about 15-30 minutes. This step helps the strawberries release their juices, creating a syrup.
- Transfer the strawberry mixture to a pot. Cook over medium heat, stirring gently. Bring the mixture to a gentle boil, then reduce the heat to low and let it simmer for about 15-20 minutes. Keep stirring occasionally to prevent sticking. The jam will begin to thicken as it cooks.
- To test the jam's consistency, place a small spoonful on a cold plate and allow it to sit for a minute. Run your finger through it; if it holds its shape and does not run back together, it’s ready. If you want a thicker jam, continue cooking for an additional 5-10 minutes.
Refrigerator Jam
- Allow the jam to cool slightly before transferring it to clean, sterilized jars. Leave a little space at the top for expansion if you're planning to freeze it
- Once the jam has come to room tempurtaure, seal the jars and place them in the refrigerator where they will keep for up to 2-3 weeks. Enjoy your jam on toast, pancakes, or in desserts.
Canning Jam
- Sterilize your canning jars and lids by placing them in boiling water for 10 minutes or running them through a hot cycle in the dishwasher.
- Pour the hot jam into the hot sterilized jars, leaving about 1/4 inch of headspace. Wipe the rims of the jars with a clean cloth dipped in vinegar to remove any residue.
- Place the lids on the jars and screw on the bands until they're fingertip-tight. Process the jars in a boiling water bath for 10 minutes (adjust time for altitude if needed).
- Fill your water bath canner or large pot with enough water to cover the jars by at least 1-2 inches, typically around 3 gallons, depending on the size of your pot.
- Using jar lifters or tongs, carefully lower the filled jars into the simmering water bath. The jars should not touch each other; make sure there’s space for boiling water to circulate.
- Once all jars are in the pot, cover with a lid and bring the water to a full rolling boil. Once boiling, begin timing your processing time (typically 10 minutes for strawberry jam.
- After processing, turn off the heat and remove the lid from the pot. Let the jars rest in the water for about 5 minutes. Then, using jar lifters, carefully remove them one at a time, placing them on a clean towel or wire rack to cool.
- Allow the jars to cool completely, usually 12–24 hours. After cooling, press the center of each lid. If it stays down and doesn’t pop back, the jar has sealed properly. If any lids have not sealed, you can refrigerate those jars and consume them within a few weeks.
- Once cooled, store the sealed jars in a cool, dark place. Properly canned jam can be stored for up to a year without losing quality.
- Whether you’ve opted for refrigerator, freezer, or canned strawberry jam, each version makes for a delightful addition to your breakfast table or a wonderful gift for friends and family. It can be spread on toast, served with yogurt, drizzled over desserts, or used in various recipes. Enjoy the taste of summer all year round with this easy, homemade strawberry jam!
Tried this recipe?Let us know how it was!